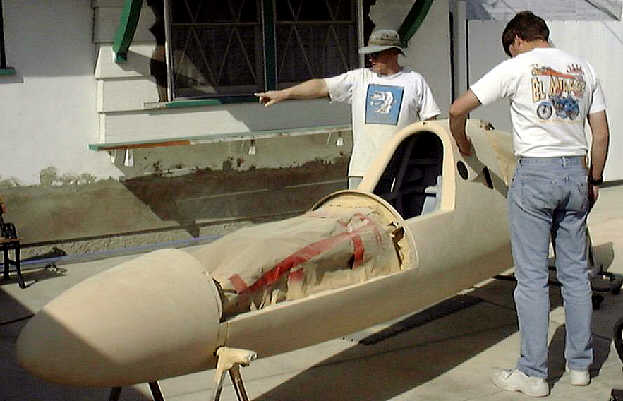
Mark and Alan scuff-sand the primer
Hello everyone,
Text in dark red was added for the web page.
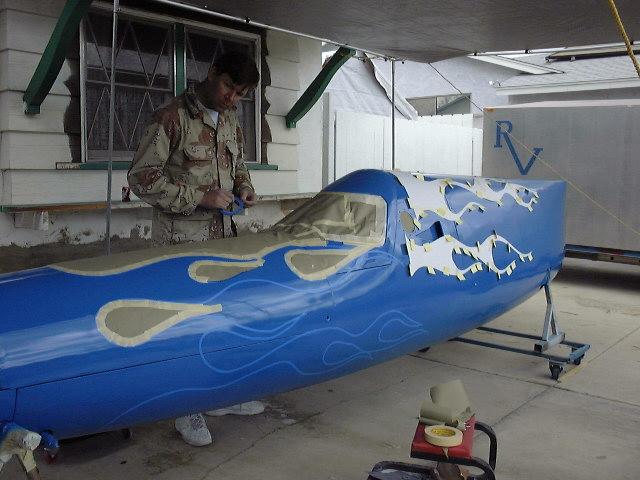
There are lots of photos this time. This last weekend was a busy one with a bunch to show for it! We knew that the painting (less the clear-coat) would take 3 days so Mark took Friday off and James & I took Friday afternoon off and drove to San Diego. The first thing that had to be done was to lightly sand the primer so that the paint would stick.
Mark and Alan scuff-sand the primer
Late in the afternoon we shot on the first coat of blue paint. We let paint cure overnight and shot a second blue coat Saturday morning.
Saturday night we practiced taping the flames onto a test sheet painted blue. This turned out to be an invaluable tool in making the real thing work. We noticed that one roll of tape was defective, we were able to test colors and paint schemes. I highly recomend doing this step
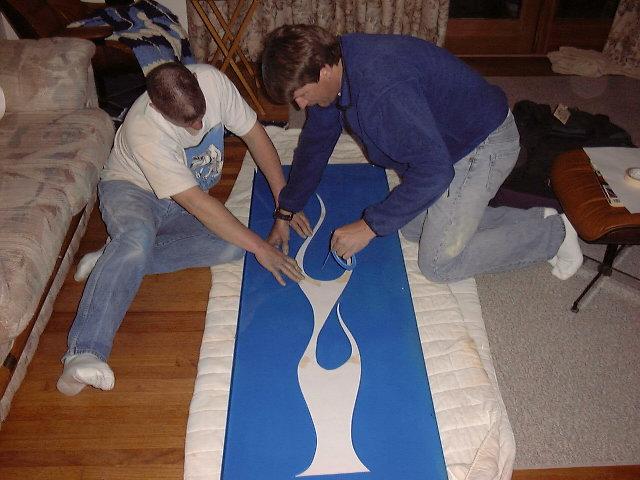
Alan & Mark
try masking flames.
We needed to let the paint set up real well so James & I drove back to Orange County Saturday noon. Early Sunday morning we drove back to Mark's house and prepared for a really long day of painting.
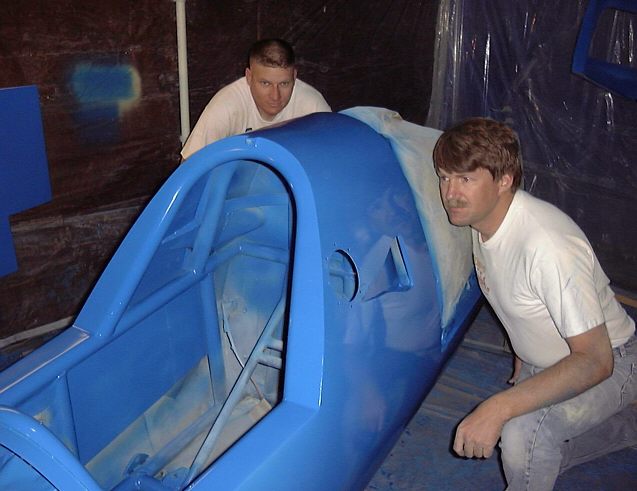
Yes, this paint is dry. Nice and glossy
at this pont.
We pulled the car out of the painting booth to look at it.
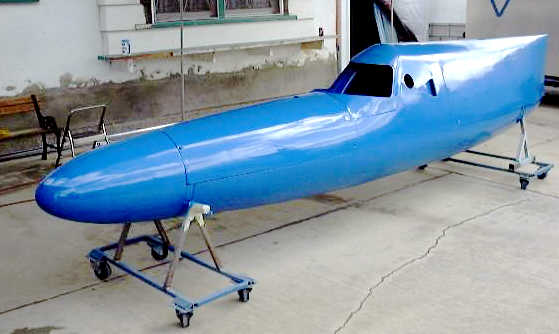
It Sure is BLUE!
Now for the hard part. James took the same flame pattern he used to make the computer image and blew them up to real size. We held the template to the car with Post-it notes so that we could mask the flames. Each of the four sets took almost an hour to mask.
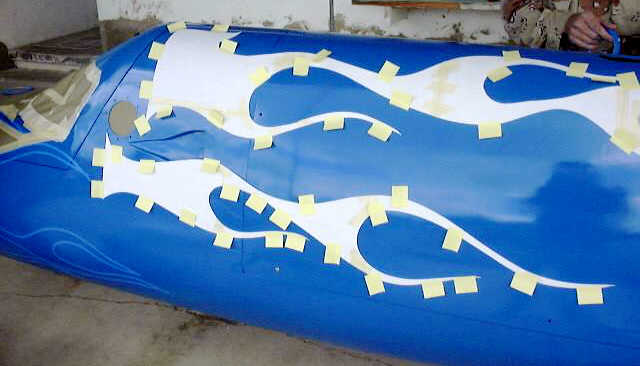
One more thing you can do with post-its
Once the edges of the flames are taped, we taped masking paper over the whole car to protect it from over spray. All told we spent 6 hours taping and masking the flames and used almost 9 billion pieces of tape.

Mark applies the last piece of tape.
We started painting at about 3 in the afternoon with the white base coat paint. Next came yellow, orange and finally at about 5:30 Pm we shot on the red paint.
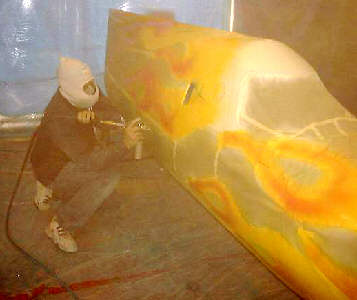
Mark shoots the orange highlight paint.
We needed to wait two hours for the paint
to cure before removing the masking and finding out if we had cool paint
job or if we had ruined it. Waiting was worse than Christmas morning but
it was worth it! take a look:

The moment of truth:
Drum roll.....
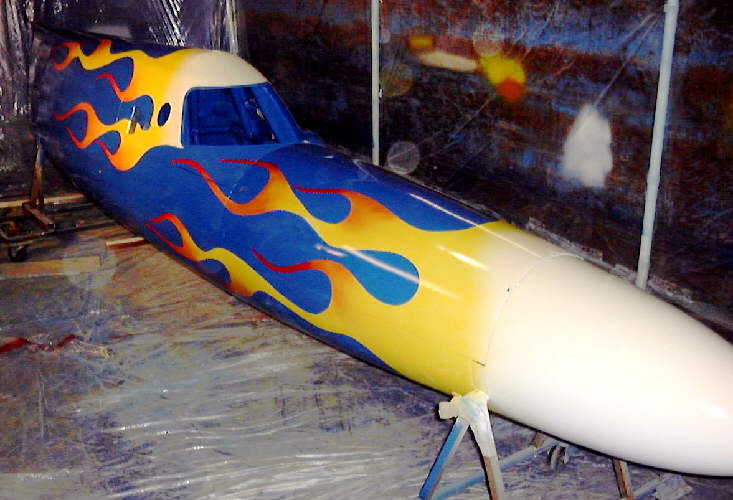
Blue - with Flames!
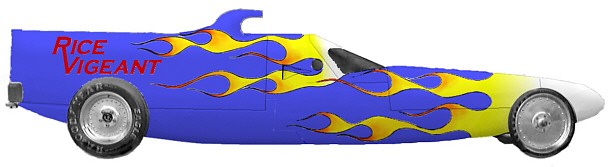
Here's the "artist's concept" from last week..
Can you believe we got this close? We sure can't.
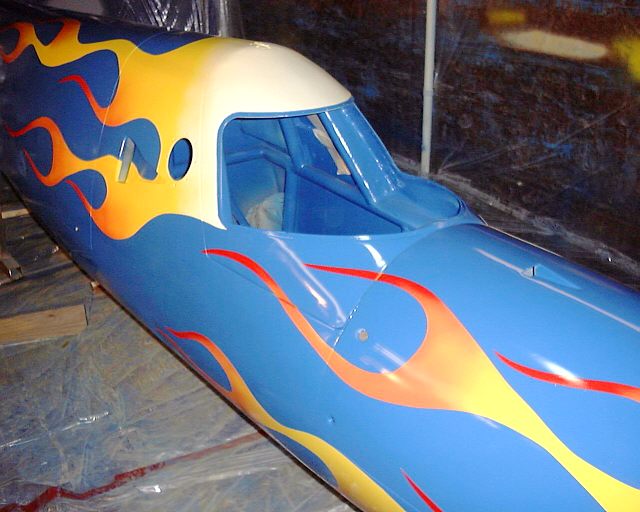
A closer look...
An invaluable source of info for doing this paint job came from http://www.customflamepainting.com They have great advice and their practice flames image was the basis for our flames.
We'll wait two more weeks before we wet
sand it and shoot on the clear coat. The last two months of work have been
worth it to get one of the most distinctive paint jobs I've seen on the
salt flats. We actually have a lot more photos of this weekend and
they are going to be available on the web site latter today.
http://www.csulb.edu/~jhrice/index.html
(they're the ones with red captions)
The next news letter will be out some time in early April.